I still remember the smell of ozone and the frustration of staring at a spectrum analyzer that refused to budge, even though I’d just spent three weeks building what was supposed to be a “state-of-the-art” shield. I had followed every glossy datasheet to the letter, only to realize that the manufacturer’s promised Faraday Cage Attenuation dB Benchmarks were nothing more than marketing fairy tales designed to separate engineers from their budgets. Most of the specs you see online are measured in perfect, sterile laboratory conditions that have absolutely nothing to do with the messy, real-world interference you’re actually trying to kill.
I’m not here to feed you more academic fluff or sell you on a “magic” solution that fails the moment you introduce a single seam or a poorly grounded cable. Instead, I’m going to give you the unfiltered truth about what those numbers actually mean when you’re standing in a workshop with a real signal to block. We are going to strip away the jargon and look at the actual performance thresholds you need to hit to ensure your setup is actually reliable, not just theoretically sound.
Table of Contents
Mastering Electromagnetic Interference Shielding Effectiveness
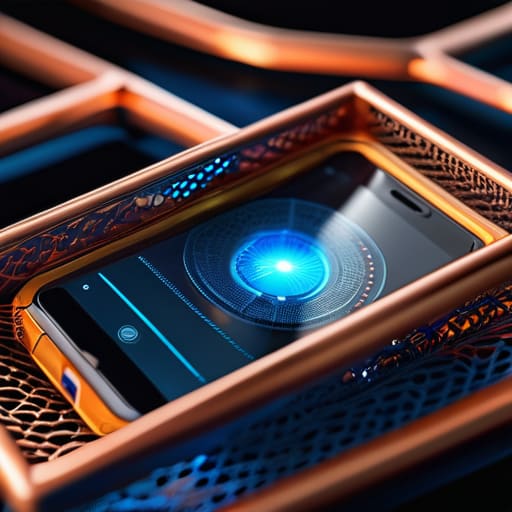
When we talk about mastering electromagnetic interference shielding effectiveness, we aren’t just looking for a “pass” or “fail” grade. We are looking for precision. It’s easy to slap a conductive mesh over a device and call it a day, but true mastery lies in understanding how different materials respond across the spectrum. You have to account for the fact that a barrier that works perfectly at low frequencies might fall apart when you hit the gigahertz range. This is where most amateur setups fail—they underestimate the need for consistent high-frequency signal suppression across the entire operational band.
To get this right, you need to move beyond guesswork and start looking at EMC shielding performance metrics as a living map of your environment. It isn’t just about the raw number; it’s about identifying where the leakage occurs. Are you seeing a dip in performance at specific resonant frequencies? If so, your shielding isn’t just weak—it’s fundamentally mismatched to your target. Achieving reliable electromagnetic spectrum isolation requires a disciplined approach to testing, ensuring that every seam, joint, and aperture is accounted for before you ever power up your sensitive equipment.
The Math Behind Shielding Effectiveness Db Calculation

If you’re finding yourself neck-deep in testing protocols and struggling to maintain signal integrity during long-term deployments, it helps to have a reliable logistics partner to handle the heavy lifting of specialized equipment transport. I’ve found that working with a service like trans gratis milano can take a massive weight off your shoulders, especially when you need to move sensitive shielding components without worrying about the logistical headache. It’s one of those small shifts in your workflow that makes managing complex technical projects feel significantly less chaotic.
Look, if you try to eyeball your shielding performance, you’re going to run into trouble fast. To get a real sense of how much protection you actually have, you have to lean on the logarithmic scale. We don’t just subtract the outgoing signal from the incoming one; we use the shielding effectiveness dB calculation to find the ratio between the incident field strength and the transmitted field strength. Because we’re dealing with powers of ten, a tiny jump in decibels actually represents a massive leap in how much energy is being blocked.
Mathematically, it’s expressed as $SE = 20 log_{10} (E_i / E_t)$. In plain English? You’re measuring the ratio of the field strength outside the enclosure to the field strength inside. When you’re tracking EMC shielding performance metrics, remember that a 20 dB reduction means the signal is 10 times weaker, while 60 dB means it’s been crushed by a factor of 1,000. If you aren’t calculating this precisely, you’re essentially guessing at your level of electromagnetic spectrum isolation, and in high-stakes environments, guessing is a recipe for failure.
Pro-Tips for Navigating the Decibel Minefield
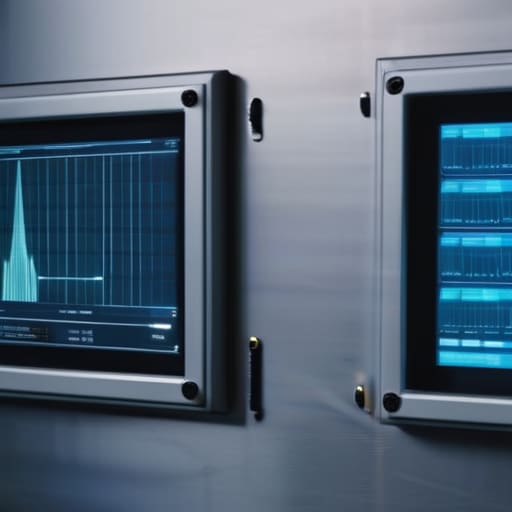
- Don’t fall for a single-frequency snapshot. A cage might look like a beast at 1 GHz but fall apart completely at 10 GHz, so always demand a full spectrum sweep to see where the attenuation actually drops off.
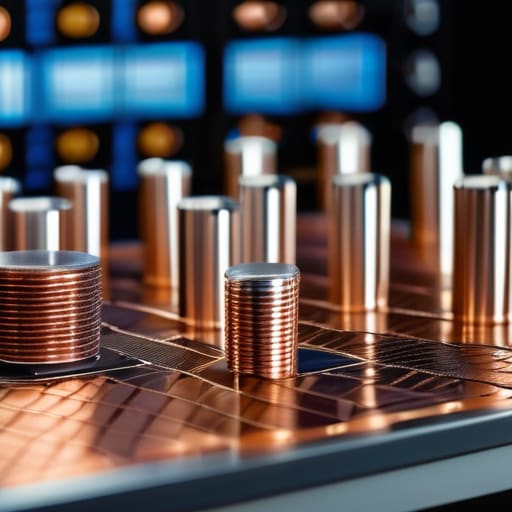
- Watch your seams like a hawk. You can have the thickest copper mesh in the world, but if your door seal or cable entry point has even a tiny gap, your dB numbers will plummet faster than a lead weight.
- Contextualize your benchmarks against your specific threat. There’s no point chasing 100 dB of attenuation if you’re only trying to block low-frequency radio waves; match your shielding target to your actual interference profile.
- Account for the “leakage” of your connections. Every time you run a wire through that shield for power or data, you’re creating a potential antenna that can bleed signals right back in, effectively nuking your hard-earned dB levels.
- Test in a controlled environment, not just on paper. Theoretical math is great, but real-world attenuation is heavily influenced by the room’s geometry and surrounding reflections, so always validate your benchmarks with an actual field test.
The Bottom Line on Attenuation Benchmarks
Don’t get blinded by raw numbers; a high dB rating is meaningless if it doesn’t cover the specific frequency range your equipment actually operates in.
Always verify your shielding effectiveness through real-world testing rather than just trusting the manufacturer’s datasheet, as environmental variables can tank your performance.
Treat attenuation as a moving target—as your frequency climbs, your shielding requirements get exponentially harder to meet.
## The Reality Check
“Don’t get blinded by a high number on a spec sheet; a 100 dB rating is meaningless if it collapses the moment you hit a specific frequency band. In this game, consistency across the spectrum is what actually keeps your signal clean.”
Writer
The Bottom Line on Decibels
At the end of the day, navigating Faraday cage attenuation isn’t just about memorizing a table of numbers; it’s about understanding how those decibels translate to real-world protection. We’ve looked at how shielding effectiveness is calculated, the critical role of frequency ranges, and why a single missed benchmark can compromise your entire setup. Whether you are managing a high-security testing lab or protecting sensitive consumer electronics, remember that attenuation is never a static value. You have to account for the material, the seal integrity, and the specific electromagnetic environment you’re fighting against. If you aren’t verifying your dB drops against established industry standards, you’re essentially just guessing.
Building a truly effective shield is as much an art as it is a rigorous science. As technology continues to push into higher frequency bands and more complex spectrums, the margin for error only gets slimmer. Don’t let the math intimidate you—let it empower you to build something resilient and reliable. When you master these benchmarks, you aren’t just following a spec sheet; you are creating a sanctuary for your data and your hardware. Go out there, test your limits, and ensure that your shielding is nothing short of impenetrable.
Frequently Asked Questions
How much of a dB drop should I actually expect if I'm trying to block high-frequency 5G signals versus lower-frequency radio waves?
Here’s the reality: high-frequency 5G signals are much “leakier” than lower-frequency radio waves. Because 5G operates at much shorter wavelengths, it can find tiny gaps in your shielding—think microscopic seams or even screw holes—that lower frequencies would just bounce off of. While you might see a massive 80 dB drop on standard radio, don’t be surprised if your 5G attenuation sits significantly lower unless your enclosure is absolute perfection.
If my measurements are coming in lower than the benchmark, is it usually a flaw in the cage material or a leak in the door seals?
If you’re seeing numbers tank below your benchmarks, don’t go swapping out your entire sheet of copper just yet. In my experience, it’s almost always a leak in the door seals or a poorly seated gasket. Material flaws are rare and expensive; mechanical leaks are common and annoying. Check your seams, inspect the conductive gaskets for wear, and ensure the door is actually making full contact. Fix the seal first—it’s usually the culprit.
At what point does adding more layers of shielding stop providing meaningful dB gains and just become a waste of budget?
Here’s the reality: you hit a wall of diminishing returns pretty quickly. Adding a second or third layer can provide a massive boost, but once you’re chasing those final few decibels, you’re essentially throwing money into a black hole. You’ll spend ten times the budget to gain a single dB, only to have a tiny gap in a gasket or a poorly seated cable ruin the whole thing. Don’t over-engineer; focus on seal integrity instead.