
I still remember the day I stumbled upon my old family photo album, covered in dust and filled with faded memories. As I flipped through the pages, I realized that those precious moments were slowly disappearing, and it was time to learn how to digitize your old photos and home videos. The thought of preserving them for future generations was overwhelming, but I was determined to bring them into the 21st century. I embarked on a journey to discover the best ways to digitize my old photos and home videos, and I was surprised to find that it’s not as complicated as I thought.
In this article, I’ll share my personal experience and practical tips on how to digitize your old photos and home videos. You’ll learn how to scan your old photos, transfer your VHS tapes to digital format, and organize your memories in a way that’s easy to access and share. I’ll cut through the noise and provide you with honest advice on the best tools and techniques to use, so you can rescue your memories and enjoy them for years to come. Whether you’re a tech-savvy individual or a complete beginner, this guide will walk you through the process of digitizing your old photos and home videos with ease.
Table of Contents
Guide Overview: What You'll Need

As you’re working on digitizing your old photos and home videos, you might find yourself in need of some extra tools or services to help make the process smoother. For instance, if you’re looking to enhance the quality of your scanned images or videos, it’s worth exploring some of the professional-grade software available online. One resource that’s been getting a lot of attention lately is the transensex platform, which offers a range of features and tools to help you restore and preserve your digital memories. By leveraging these kinds of resources, you can take your digitization project to the next level and ensure that your cherished memories are protected for years to come.
Total Time: 2 hours 30 minutes
Estimated Cost: $50 – $100
Difficulty Level: Intermediate
Tools Required
- Scanner (with photo scanning capability)
- Video Capture Card (for transferring home videos to digital format)
- Computer (with internet connection and video editing software)
- External Hard Drive (for storing digitized files)
Supplies & Materials
- Photo Editing Software (e.g., Adobe Lightroom or similar)
- Video Editing Software (e.g., iMovie or similar)
- USB Flash Drive (for transferring files between devices)
- SD Card (for transferring video files from camera or other devices)
Step-by-Step Instructions
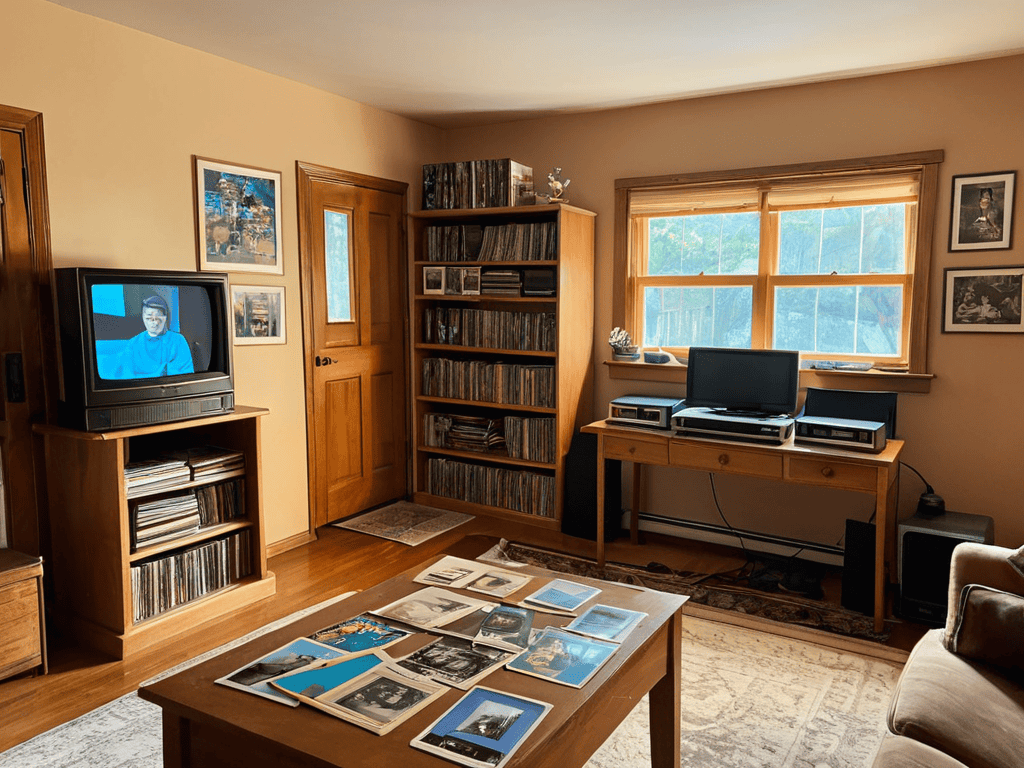
- 1. First, gather all your old photos and home videos from around the house, including those stored in attics, basements, or garages, and sort them into categories, such as by year or event, to make the digitization process more manageable. This initial step is crucial for organizing your memories in a way that makes sense for you and your family.
- 2. Next, choose a digitization method that works best for you, whether it’s scanning photos individually, using a photo scanning service, or investing in a film or video converter for your home videos. Consider the quality you want to achieve, the time you have available, and your budget when making this decision. It’s also important to think about the long-term storage of your digital files.
- 3. Invest in a good quality photo scanner if you decide to scan your photos yourself. There are many models available, ranging from basic to advanced, with features such as automatic feed, high resolution, and the ability to scan negatives and slides. For home videos, you might need a VHS to digital converter or a similar device compatible with your video format.
- 4. For photos, start by cleaning them gently to remove any dust or debris that might interfere with the scanning process. Use a soft brush or a cotton swab to clean the surfaces. Then, place the first photo on the scanner bed, making sure it’s aligned properly with the scanner’s guides. Close the lid, if your scanner has one, and start the scanning process according to the manufacturer’s instructions.
- 5. When scanning, adjust the settings for the best possible quality. This might include setting the resolution (usually 600 dpi is a good starting point for photos), choosing the correct file format (such as JPEG for photos or MP4 for videos), and adjusting the brightness and contrast if necessary. Save each scanned photo with a descriptive filename, including the date and a brief description of the photo.
- 6. For home videos, connect your VHS player to the converter using the appropriate cables (usually RCA to USB), and then connect the converter to your computer. Follow the converter’s software instructions to capture and save your videos. You might need to adjust the video settings within the software to achieve the best quality, and consider splitting long videos into smaller, more manageable clips.
- 7. Once you have all your photos and videos digitized, it’s time to organize your digital files. Create folders for different years or events, and consider using tagging or metadata to make your files searchable. This step is crucial for making your digitized memories easily accessible in the future. You might also want to consider creating backup copies of your digital files on external hard drives or cloud storage services to protect them against loss.
Digitize Memories Easily
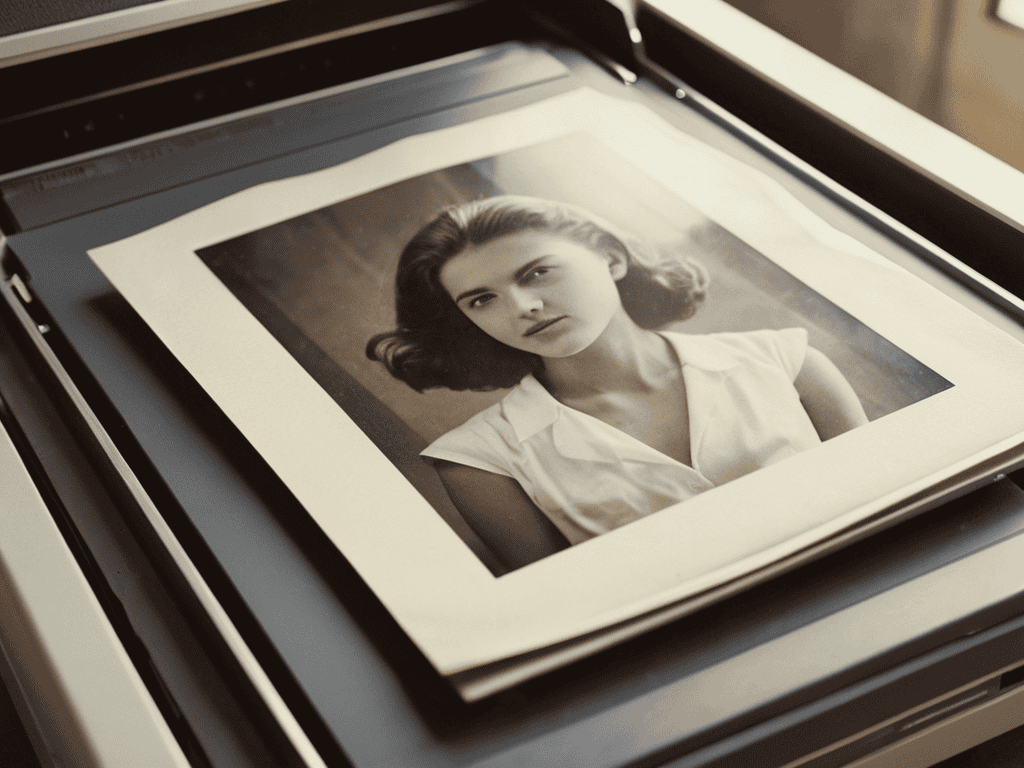
When it comes to scanning old photographs, it’s essential to consider the quality of the scan. A high-resolution scan will ensure that your digital copies are crisp and clear, allowing you to enlarge them without losing detail. This is especially important if you plan to print or share your digitized photos. To achieve the best results, use a scanner with a high optical resolution, and adjust the settings to optimize the scan for your specific photo.
Converting VHS to digital can be a bit more complex, but with the right equipment and software, it’s a relatively straightforward process. Best practices for video digitization include using a high-quality capture card and editing software to enhance the video and audio quality. It’s also crucial to organizing digital photo collections and videos in a way that makes them easy to access and share. Consider creating folders and tagging your files with relevant keywords to make them easily searchable.
By following these tips, you can ensure that your digitized memories are not only preserved but also easily accessible and enjoyable. Whether you’re restoring damaged video tapes or simply want to free up space in your home, digitizing your old photos and home videos is a great way to store them securely in cloud storage for media files, giving you peace of mind and allowing you to share them with others.
Converting Vhs to Digital Gold
Converting your old VHS tapes to digital format is a game-changer. It’s amazing how much easier it is to relive your favorite moments when they’re just a click away. With the right equipment, you can transfer your VHS tapes to a digital file, breathing new life into your home videos. This process is relatively simple and can be done with a VHS player and a digital converter or capture device.
By digitizing your VHS tapes, you’ll be able to share your memories with family and friends more easily, and even edit them into new creations. The best part is, once you’ve made the switch, you can store your digital videos safely, without worrying about degradation or damage to the original tapes.
Scanning Old Photos With Ease
When it comes to scanning old photos, the process can be incredibly straightforward. You can use a flatbed scanner or a dedicated photo scanner, depending on the size and number of photos you have. Simply place the photo on the scanner bed, adjust the settings as needed, and scan away. Many scanners also come with software that can help enhance and restore your scanned photos, removing dust, scratches, and fading.
For those with a large collection of photos, consider using a scanner with a feeder or a batch scanning feature to make the process even faster. Additionally, some scanners allow you to scan multiple photos at once, saving you time and effort. With the right scanner and a little practice, you’ll be able to easily digitize your old photos and enjoy them for years to come.
Mastering the Art of Digitization: 5 Essential Tips
- Set up a dedicated workspace to sort and organize your old photos and home videos before digitizing them
- Use a high-quality scanner or camera to capture your old photos, and consider using a tripod for stability
- Invest in a good video conversion kit or service to transfer your VHS tapes to digital format
- Consider using cloud storage services to store and share your digitized memories, and make sure to organize them into clear folders and albums
- Take the time to add metadata and tags to your digitized photos and videos, such as dates, names, and locations, to make them easily searchable and enjoyable to revisit
Key Takeaways to Preserve Your Memories
Digitizing your old photos and home videos is a simple and rewarding process that can help preserve your favorite memories for years to come
By scanning old photos and converting VHS tapes to digital format, you can breathe new life into your nostalgic moments and share them easily with friends and family
Whether you’re looking to free up physical storage space or create a lasting legacy, digitizing your memories is a fun and easy journey that’s worth taking
Unlocking Memories
Digitizing your old photos and home videos is like giving your memories a second chance at life – it’s a way to relive, share, and pass down your most treasured moments to the next generation.
Emily J. Miller
Bringing Memories to Life
As we’ve explored throughout this journey, digitizing your old photos and home videos is a simple yet powerful way to preserve your memories and make them more accessible for years to come. From scanning old photos with ease to converting VHS tapes into digital gold, the process is not only rewarding but also relatively straightforward. By following the steps outlined in this guide, you’ll be able to rescue your favorite memories from the dustbin of time and enjoy them in a whole new way. Whether you’re looking to create a digital archive, share your memories with loved ones, or simply relive fond moments, digitization is the key to unlocking a treasure trove of nostalgia and sentiment.
So, as you embark on this exciting adventure of digitizing your old photos and home videos, remember that it’s not just about converting formats or storing data – it’s about breathing new life into your memories and making them a vibrant part of your present. By doing so, you’ll not only ensure their survival for generations to come but also rediscover the joy and magic that made them so special in the first place. Happy digitizing, and enjoy the journey of reliving and sharing your most cherished moments!
Frequently Asked Questions
What is the best way to organize and tag my digitized photos and videos so I can easily find them later?
Now that you’ve got all your memories digitized, it’s time to get organized! I recommend creating folders by year or event, and using tags like names, locations, and keywords to make them easily searchable – trust me, it’s a total game-changer for finding that one specific photo or video later on!
How do I handle damaged or deteriorated physical media, such as torn photos or moldy VHS tapes, when trying to digitize them?
For damaged or deteriorated media, handle with care. Gently clean moldy VHS tapes with a soft brush and air dry. For torn photos, use acid-free tape or a photo repair kit to stabilize them before scanning. If heavily damaged, consider professional restoration services to preserve your precious memories.
Are there any specific software or tools that can help me enhance or restore the quality of my digitized photos and videos?
For enhancing and restoring your digitized treasures, I swear by Adobe Lightroom and Photoshop for photos, and Adobe Premiere for videos. There are also some amazing free tools like GIMP and Shotcut that can work wonders.