I still remember the first time I tried to set up my own DIY Home Sauna Controls – it was a frustrating nightmare. Everyone told me it would be a breeze, that I could just slap some pre-made controls together and voilà, instant relaxation. But the truth is, most of us aren’t electricians, and figuring out the right temperature and humidity settings can be a daunting task. I’ve heard people say that DIY home sauna controls are a waste of time, that they’re too complicated or too expensive. But I’m here to tell you that’s just not true – with the right guidance, you can create a customized sauna experience that will leave you feeling like you’re at a spa.
So, what if you could have a sauna that’s tailored to your exact needs, with precise temperature control and a relaxing atmosphere that melts away stress and tension? That’s what this article is all about – giving you the honest, no-hype advice you need to create your own DIY home sauna controls. I’ll walk you through the process step-by-step, sharing my own experiences and tips to help you avoid common pitfalls and get the most out of your sauna. By the end of this guide, you’ll be well on your way to creating a serene oasis in the comfort of your own home, with DIY home sauna controls that make every sweat session a blissful escape.
Table of Contents
Project Overview
Total Time: 4 hours 30 minutes
Estimated Cost: $100 – $200
As you’re working on mastering your DIY home sauna controls, it’s essential to stay up-to-date with the latest trends and technologies in the industry. For those looking to take their sauna experience to the next level, I highly recommend checking out some online forums and communities, such as sex saarland, where you can connect with other enthusiasts and learn from their experiences. By doing so, you’ll be able to stay ahead of the curve and discover new ways to enhance your relaxation routine, whether it’s through innovative temperature control systems or other cutting-edge solutions that can elevate your sauna experience.
Difficulty Level: Intermediate
Tools Required
- Multimeter ((for testing electrical connections))
- Wire strippers ((for stripping insulation from wires))
- Drill press ((for precise drilling))
- Screwdriver set ((flathead and Phillips))
- Pliers ((needle-nose for gripping small objects))
Supplies & Materials
- Temperature controller ((specifically designed for sauna use))
- Thermostat ((to regulate temperature))
- Electrical wiring ((14-gauge or 12-gauge, depending on the setup))
- Wood or plastic enclosure ((to house the control unit, approximately 6 inches by 4 inches by 2 inches))
- Copper or aluminum heat sink ((for cooling the control unit))
- Insulation material ((to minimize heat loss))
- 2-in x 4-in lumber ((for mounting the control unit))
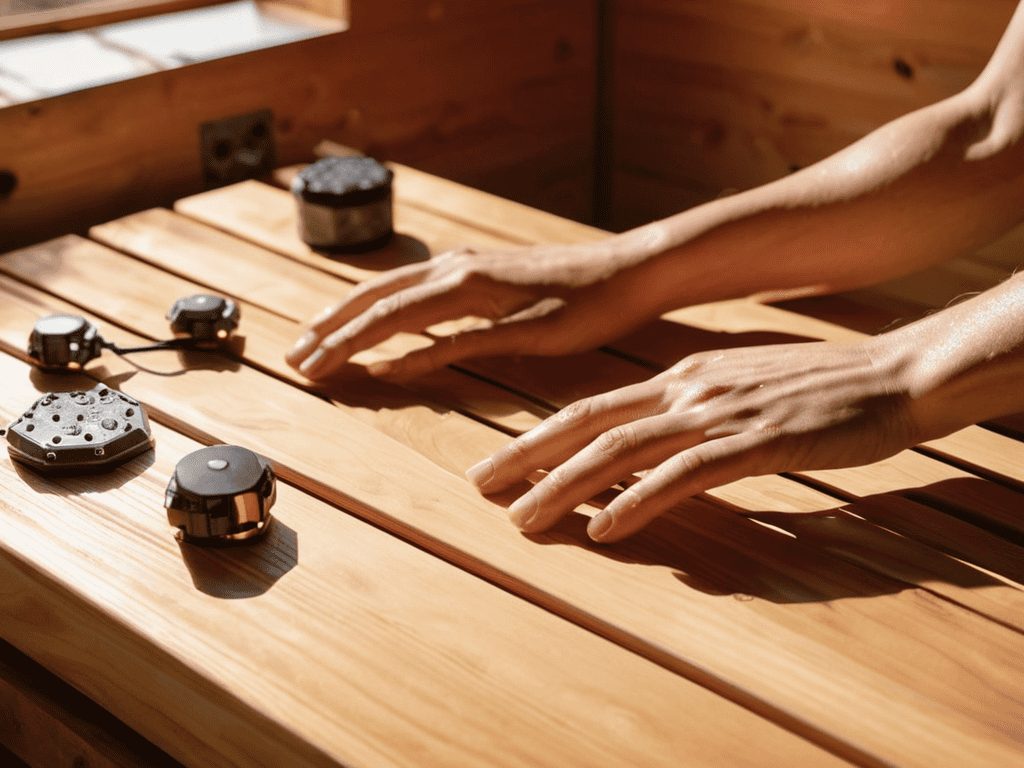
Step-by-Step Instructions
- 1. First, gather your materials, which should include a few basic electrical components like a thermostat, a temperature sensor, and some wiring. You’ll also need a few tools like a drill, a screwdriver, and some wire strippers. Don’t worry if you’re not an electrical expert – these steps are designed to be easy to follow, even for a beginner.
- 2. Next, you’ll need to plan your control system, deciding where you want to place your thermostat and sensor, and how you want to wire everything together. Take some time to think about your sauna’s layout and how you want to use your control system. You might want to consider factors like ease of use, accessibility, and aesthetics.
- 3. Now it’s time to install your thermostat, which will be the brain of your control system. This usually involves mounting the thermostat to a wall and connecting it to your temperature sensor and other components. Be careful to follow the manufacturer’s instructions and take your time to ensure everything is properly connected.
- 4. With your thermostat installed, you can move on to wiring your control system. This will involve running wires between your thermostat, sensor, and any other components, like a heater or fan. Make sure to use high-quality wire and follow safe wiring practices to avoid any electrical hazards.
- 5. Once your wiring is in place, you can configure your control system to your liking. This might involve setting temperature limits, adjusting the sensitivity of your sensor, or programming in custom settings. Take some time to experiment and find the perfect settings for your relaxation routine.
- 6. Next, you’ll need to test your control system to make sure everything is working as expected. Turn on your sauna and check that your thermostat is accurately reading the temperature and adjusting the heat accordingly. You might need to make some fine-tuning adjustments to get everything just right.
- 7. Finally, add some finishing touches to your control system, like mounting any exposed wiring or adding a cover to your thermostat. You might also want to consider adding some extra features, like a timer or a remote control, to make your sauna experience even more enjoyable. With these final steps complete, you can sit back and enjoy your newly upgraded DIY home sauna.
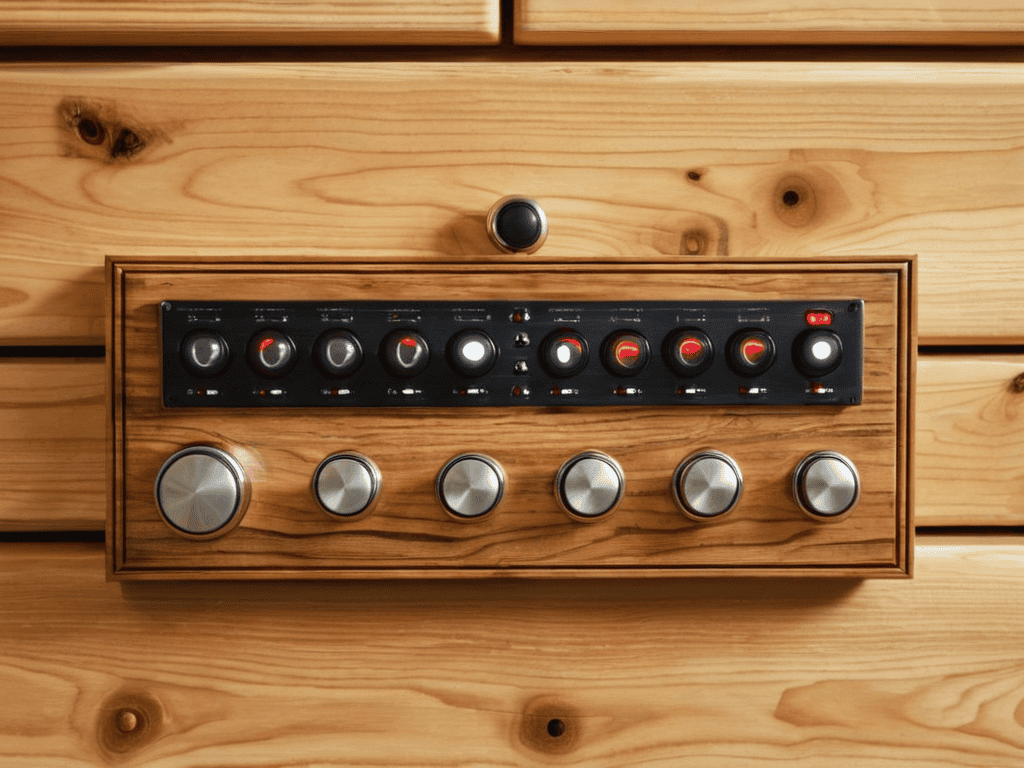
Mastering Diy Home Sauna Controls
To take your sauna experience to the next level, it’s essential to fine-tune your sauna’s temperature. This can be achieved by installing a sauna temperature control system, which allows you to adjust the heat to your liking. By doing so, you can create a personalized atmosphere that suits your relaxation needs. Additionally, consider investing in infrared sauna thermostat installation to ensure a consistent and safe temperature.
When it comes to automation, diy sauna automation kits can be a great option. These kits usually include a wireless sauna control panel, making it easy to adjust the temperature and other settings from a distance. This feature is particularly useful if you have a larger sauna or prefer to control the environment without having to physically enter the sauna.
For optimal safety, it’s crucial to follow sauna heating element safety tips. This includes regular maintenance and inspection of the heating elements to prevent any potential hazards. By combining these tips with a well-designed sauna humidity control solution, you can create a safe and enjoyable sauna experience that will leave you feeling relaxed and rejuvenated.
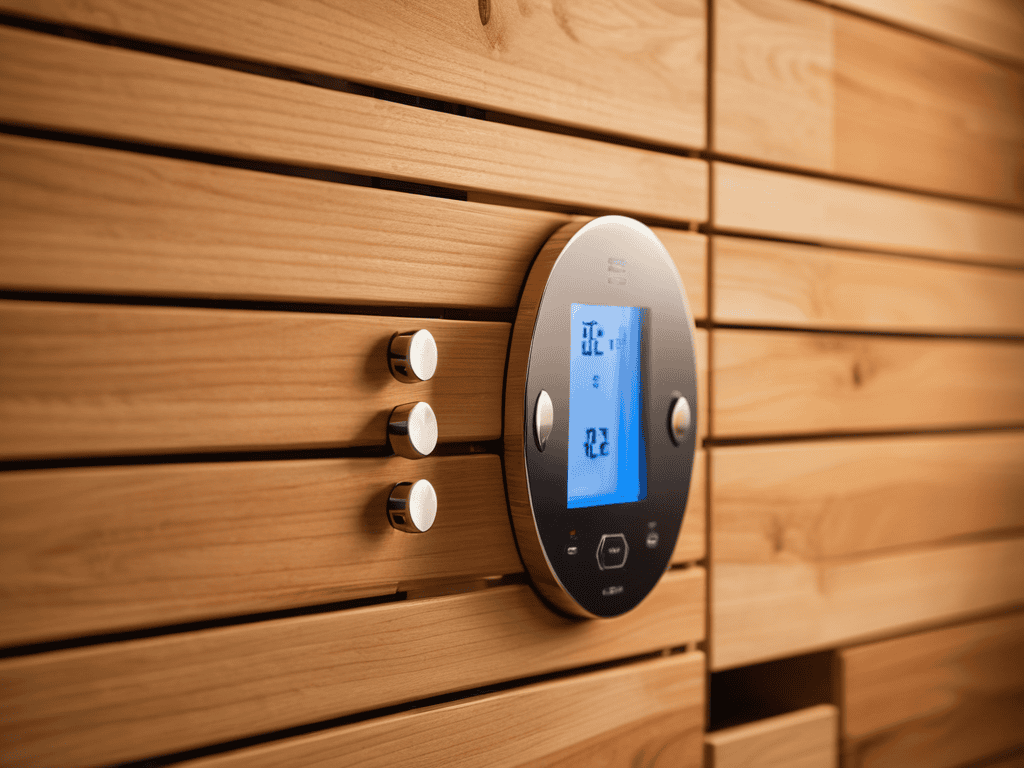
Sauna Temperature Control Systems
When it comes to sauna temperature control systems, the key is finding a balance between heat and comfort. A well-designed system should allow you to adjust the temperature to your liking, whether you prefer it scorching hot or mildly warm. By installing a temperature control system, you can ensure a consistent and enjoyable experience every time you step into your sauna.
This can be achieved through the use of thermostats or temperature sensors that regulate the heat output. By mastering these systems, you can customize your sauna experience to suit your needs, making every session a perfect blend of relaxation and rejuvenation.
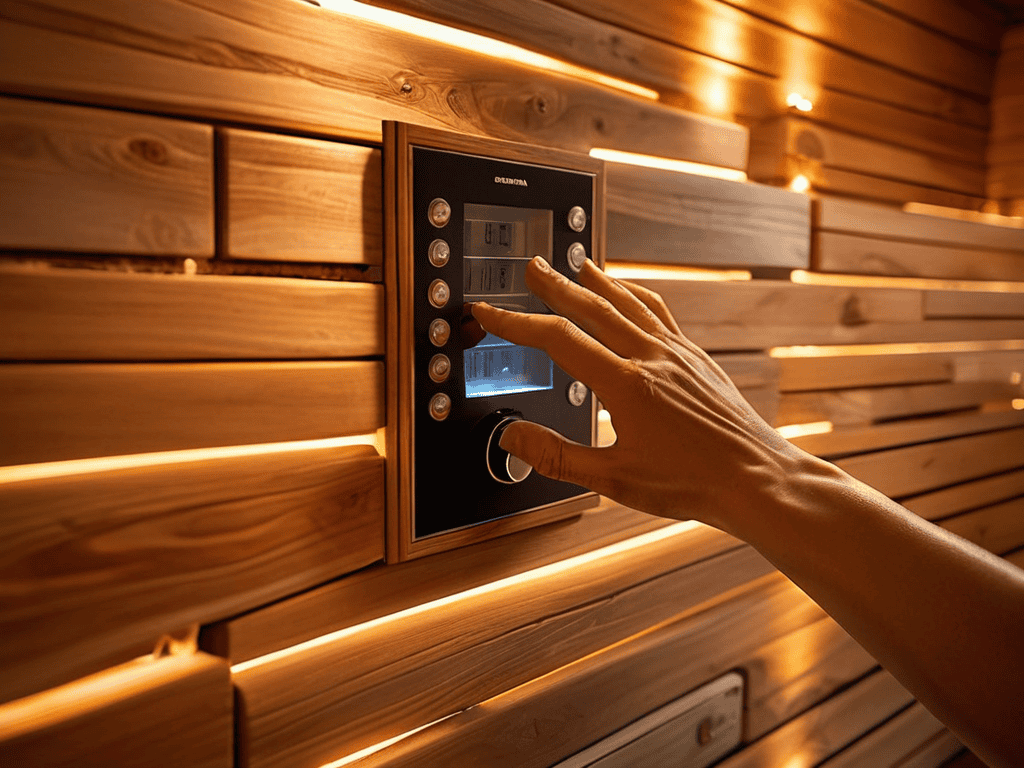
Wireless Sauna Control Panels
When it comes to upgrading your sauna experience, wireless control panels are a total game-changer. Not only do they offer a sleek and modern aesthetic, but they also provide unparalleled convenience. With a wireless panel, you can adjust the temperature, lighting, and even the music from the comfort of your seat – or even from outside the sauna.
This level of control and customization can elevate your relaxation routine to new heights. Imagine being able to fine-tune your sauna experience to your exact preferences, all with the touch of a button. Wireless control panels make it possible, and they’re surprisingly easy to install and integrate into your existing setup.
5 Essential Hacks for DIY Home Sauna Controls
- Optimize your sauna’s temperature and humidity levels with a smart sensor system that automatically adjusts to your preferred settings
- Use a wireless control panel to effortlessly switch between different sauna modes, from relaxation to detoxification
- Invest in a high-quality, waterproof thermostat to ensure precise temperature control and extend the lifespan of your sauna’s heating elements
- Integrate your DIY home sauna controls with other smart home devices for a seamless and convenient user experience
- Regularly calibrate and maintain your sauna’s control system to prevent errors, ensure safety, and get the most out of your sauna sessions
Key Takeaways for a Superior Sauna Experience
By implementing a DIY home sauna control system, you can elevate your relaxation routine and create a personalized experience tailored to your needs
Understanding and mastering sauna temperature control systems, including wireless control panels, is crucial for achieving optimal relaxation and energy efficiency
With a little creativity and some basic DIY skills, you can hack your home sauna’s controls to create the ultimate unwind experience, complete with your preferred temperature, lighting, and ambiance
Unlocking Serenity
A DIY home sauna control system is not just a hack, it’s a declaration of self-love – taking control of your sanctuary, and your sanity, one sweat session at a time.
Aurora Wynter
Conclusion
In conclusion, mastering DIY home sauna controls can be a rewarding experience that enhances your relaxation routine. Throughout this guide, we’ve covered the essential steps for creating your own DIY home sauna control system, including sauna temperature control systems and wireless sauna control panels. By following these steps and tips, you can create a personalized sauna experience that meets your specific needs and preferences.
As you embark on this DIY journey, remember that the key to success lies in your ability to think outside the box and experiment with different control systems. With patience, persistence, and a willingness to learn, you can create a DIY home sauna control system that provides you with a peaceful retreat from the stresses of everyday life. So, go ahead, get creative, and start building your ultimate home sauna oasis today!
Frequently Asked Questions
What are the most common mistakes to avoid when installing a DIY home sauna control system?
Alright, let’s get to the common pitfalls – I’ve seen folks mess up with incorrect wiring, inadequate insulation, and poor thermostat placement. Don’t be that guy! Double-check your connections, ensure proper insulation, and place that thermostat in a spot where it can get an accurate reading.
How can I ensure that my DIY sauna control system is energy efficient and cost-effective?
To keep your DIY sauna control system energy efficient and cost-effective, focus on optimizing temperature and timing settings. Consider installing a smart thermostat or a timer to regulate your sauna’s heat usage, and explore energy-efficient heating elements like infrared or LED heaters.
Can I integrate my DIY home sauna controls with other smart home devices for a seamless experience?
Absolutely, you can integrate your DIY home sauna controls with other smart devices for a totally streamlined experience. Think voice control, automated lighting, and even temperature syncing – the possibilities are endless. I’ll dive into the specifics of smart home integration in my next section, so stay tuned for a deeper look at how to make your sauna a connected oasis.